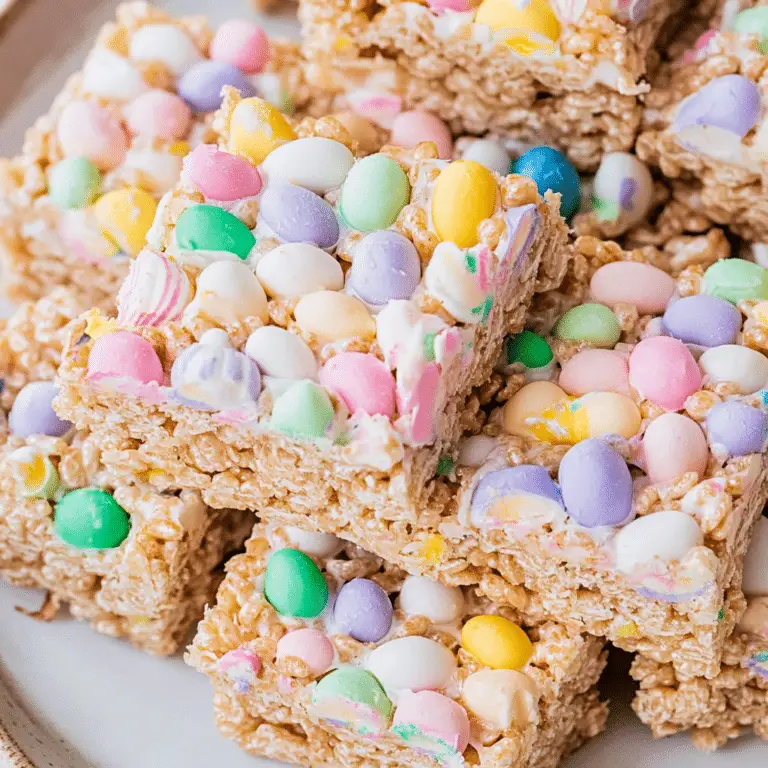
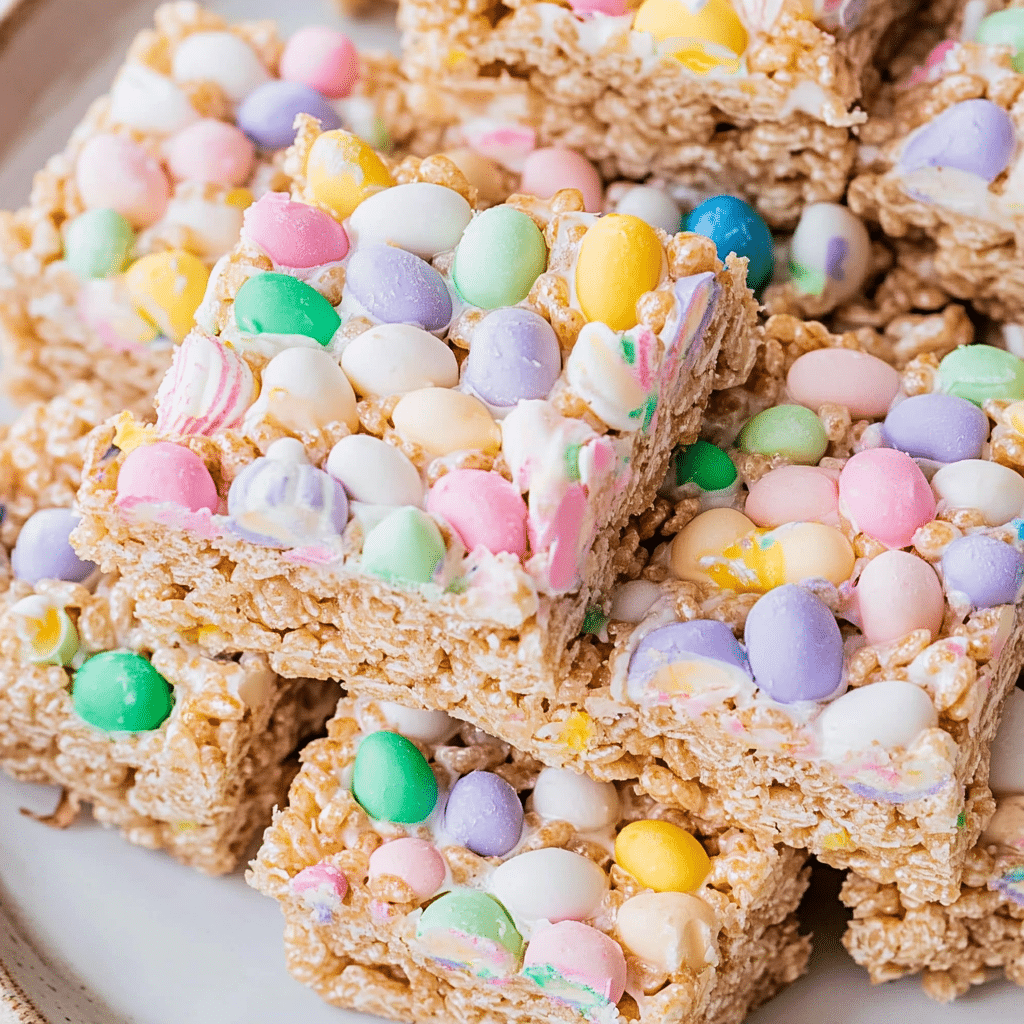
These Easter Rice Krispie Bars are a fun and festive twist on the classic marshmallow treat! Packed with pastel-colored M&M’s, candy-coated chocolate eggs, and a drizzle of white chocolate, they are perfect for spring celebrations. Whether you’re making them for an Easter party, a school event, or a quick family dessert, these no-bake bars are easy to make and irresistibly delicious.
Why You’ll Love This Recipe
- Quick & Easy – Ready in just 15 minutes with simple ingredients.
- No-Bake Dessert – No need for an oven, making it perfect for busy days.
- Festive & Fun – Pastel M&M’s and sprinkles make these bars extra special for Easter.
- Kid-Friendly – Easy enough for kids to help make.
- Customizable – Swap mix-ins or decorations to match any occasion.
Ingredients
(Tip: You’ll find the full list of ingredients and measurements in the recipe card below.)
- Rice Krispies cereal
- Mini marshmallows
- Unsalted butter
- Vanilla extract (optional)
- Pastel-colored M&M’s or candy-coated chocolate eggs
- White chocolate chips (optional)
- Easter-themed sprinkles
Directions
1. Melt the Marshmallow Mixture
- In a large pot over medium-low heat, melt the butter.
- Add the mini marshmallows and stir continuously until completely melted and smooth.
- Remove from heat and stir in the vanilla extract, if using.
2. Mix in the Cereal & Candy
- Quickly fold in the Rice Krispies cereal, stirring until evenly coated.
- Gently mix in the pastel-colored M&M’s or candy-coated chocolate eggs, being careful not to melt them.
3. Press into the Pan
- Grease a 9×13-inch baking dish or line it with parchment paper.
- Transfer the Rice Krispie mixture into the dish, pressing it down evenly with a spatula or lightly greased hands.
4. Decorate & Set
- Melt the white chocolate chips and drizzle over the top (optional).
- Sprinkle with Easter-themed sprinkles for a festive touch.
- Let the treats set at room temperature for about 30 minutes before slicing into bars.
Servings and Timing
- Yield: 12-16 bars
- Prep Time: 10 minutes
- Cook Time: 5 minutes
- Total Time: 15 minutes
- Calories: Approximately 150-180 kcal per bar (varies based on mix-ins)
Variations
- Chocolate Lover’s Version: Use Cocoa Krispies instead of plain Rice Krispies and drizzle with melted dark chocolate.
- Peanut Butter Twist: Stir in 2 tablespoons of peanut butter with the melted marshmallows for extra flavor.
- Extra Crunch: Add crushed pretzels or chopped nuts for a sweet and salty mix.
- Fruity Fun: Mix in dried cranberries or chopped apricots for a fruity touch.
- Dairy-Free Option: Use dairy-free butter and chocolate chips to make these bars dairy-free.
Storage/Reheating
- Room Temperature: Store in an airtight container for up to 3 days.
- Refrigeration: Can be stored in the fridge for up to a week, but they may become firmer.
- Freezing: Wrap individual bars in plastic wrap and store in a freezer-safe container for up to 2 months. Let thaw at room temperature before serving.
FAQs
Can I use regular marshmallows instead of mini ones?
Yes! Just use 10 ounces of regular marshmallows and let them melt completely.
How do I prevent the mixture from sticking to my hands?
Lightly grease your hands with butter or cooking spray before pressing the mixture into the pan.
Can I use different cereals?
Absolutely! You can substitute Cocoa Krispies, Fruity Pebbles, or Cornflakes for a fun variation.
How do I make these less sweet?
Reduce the marshmallows slightly or use dark chocolate instead of white chocolate for a less sugary treat.
Can I make these ahead of time?
Yes! They stay fresh for several days when stored in an airtight container.
Why are my Rice Krispie bars hard instead of soft and chewy?
If the marshmallow mixture is overheated, it can lead to a hard texture. Melt the butter and marshmallows over low heat for best results.
Can I use margarine instead of butter?
Yes, but real butter provides the best flavor and texture.
What’s the best way to cut these into bars?
Use a sharp knife or a pizza cutter, and grease the blade slightly to prevent sticking.
Can I make them gluten-free?
Yes! Use gluten-free Rice Krispies to make this recipe completely gluten-free.
How do I make these vegan?
Use vegan marshmallows and dairy-free butter, and swap the M&M’s for a vegan alternative.
Conclusion
Easter Rice Krispie Bars are the perfect combination of crispy, chewy, and colorful! Quick to make and full of festive charm, these no-bake treats are ideal for Easter celebrations, spring parties, or a fun afternoon snack. With endless ways to customize them, they’ll become a favorite for any occasion.
Print
Easter Rice Krispie Bars
These Easter Rice Krispie Bars are a fun, no-bake dessert perfect for spring celebrations! Packed with pastel M&M’s, candy-coated chocolate eggs, and a drizzle of white chocolate, they’re festive, easy to make, and irresistibly delicious. Whether for an Easter party, school event, or quick family treat, these chewy and crispy bars come together in just 15 minutes with simple ingredients!
- Total Time: 15 minutes
- Yield: 12-16 bars
Ingredients
- Rice Krispies cereal
- Mini marshmallows
- Unsalted butter
- Vanilla extract (optional)
- Pastel-colored M&M’s or candy-coated chocolate eggs
- White chocolate chips (optional, for drizzling)
- Easter-themed sprinkles
Instructions
1. Melt the Marshmallow Mixture:
- In a large pot over medium-low heat, melt butter.
- Add mini marshmallows, stirring continuously until fully melted and smooth.
- Remove from heat and stir in vanilla extract (if using).
2. Mix in the Cereal & Candy:
- Fold in the Rice Krispies cereal, stirring until evenly coated.
- Gently mix in pastel M&M’s or chocolate eggs, being careful not to melt them.
3. Press into the Pan:
- Grease or line a 9×13-inch baking dish with parchment paper.
- Transfer the mixture into the dish and press it down evenly using a spatula or greased hands.
4. Decorate & Set:
- Melt white chocolate chips and drizzle over the top (optional).
- Sprinkle with Easter-themed sprinkles for a festive look.
- Let the treats set for 30 minutes, then slice into bars and serve.
Notes
-
Storage & Freezing:
- Room Temperature: Store in an airtight container for up to 3 days.
- Refrigerate: Keeps for up to a week, but bars may firm up.
- Freeze: Wrap individually in plastic wrap and store in a freezer-safe container for up to 2 months.
-
Prevent Stickiness: Grease hands or spatula lightly with butter or cooking spray before pressing the mixture into the pan.
- Prep Time: 10 minutes
- Cook Time: 5 minutes
- Category: Dessert, No-Bake Treats
- Method: No-Bake
- Cuisine: American
- Diet: Gluten Free


