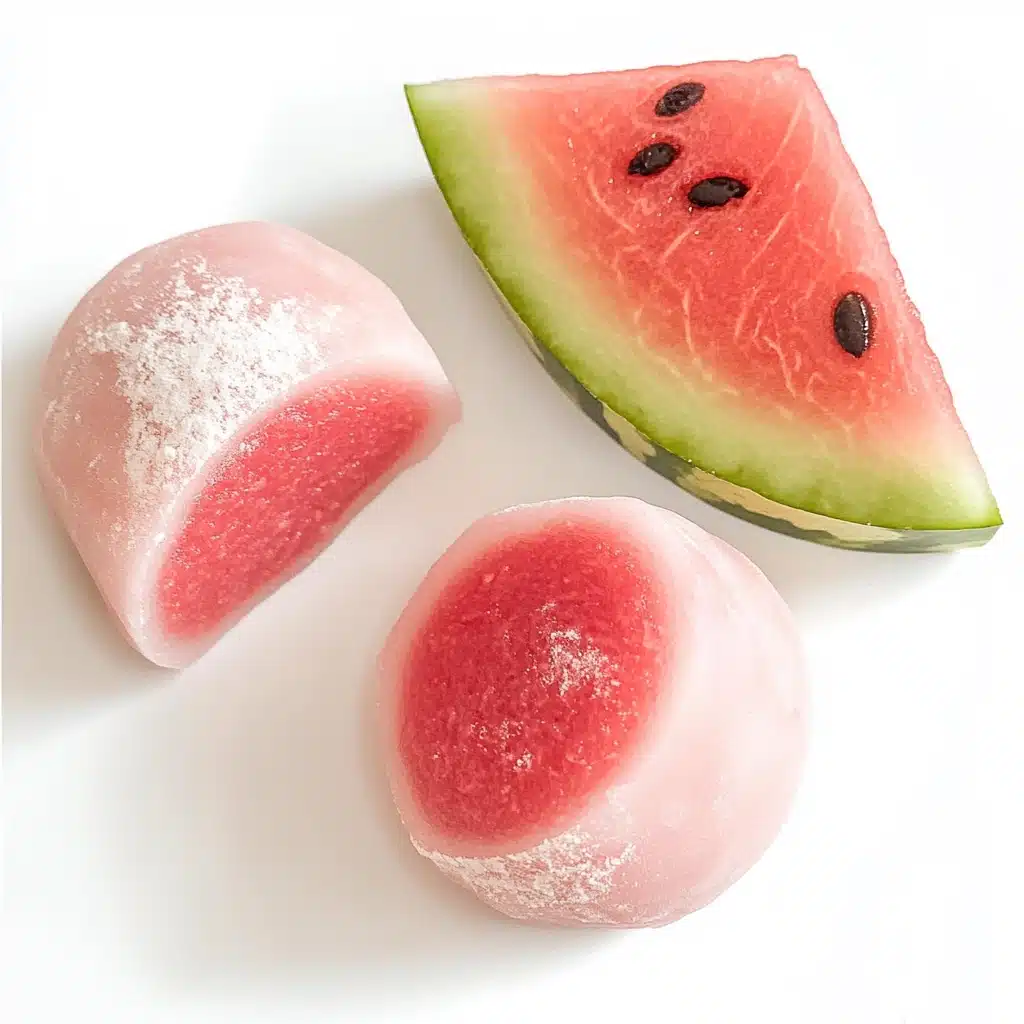
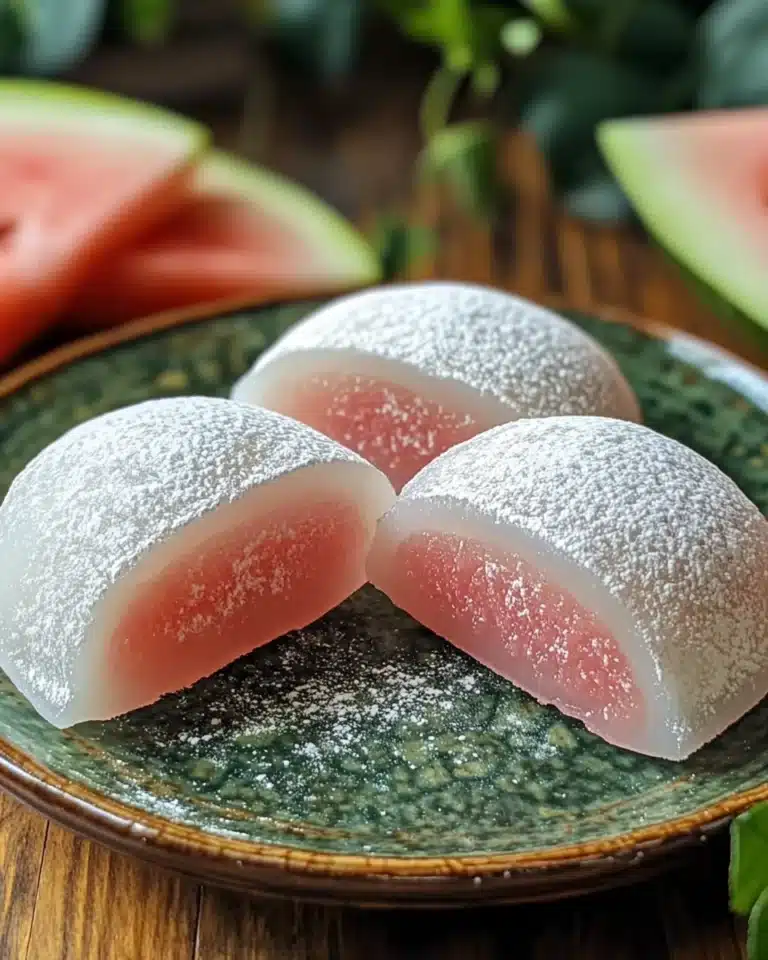
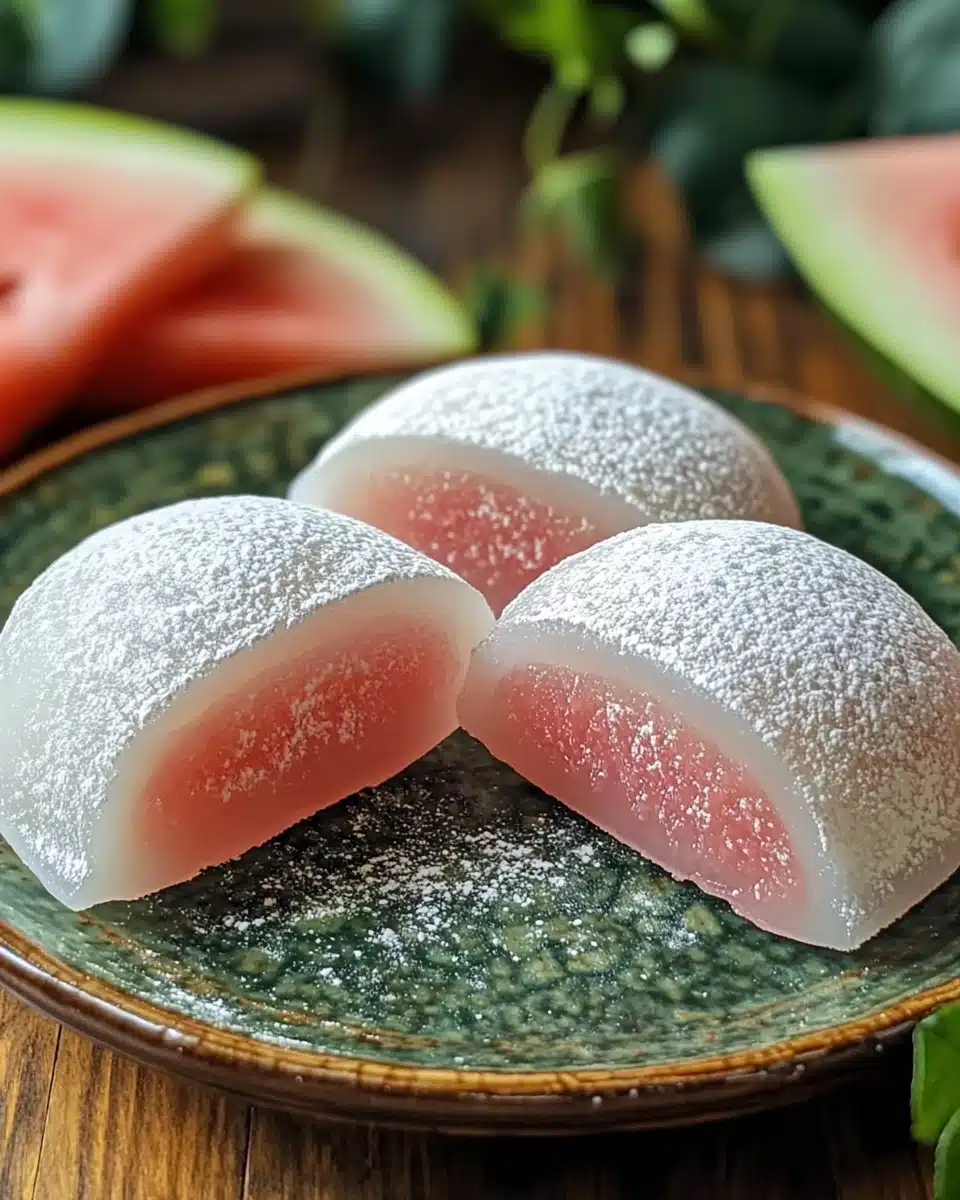
Watermelon Mochi Recipe
If you’re searching for the ultimate summer treat that fuses chewy, pillowy texture with the luscious flavor of fresh watermelon, you absolutely have to try Watermelon Mochi. This playful dessert not only captures the bold, refreshing taste of watermelon in every bite, but also delights with a gorgeous color and bouncy, melt-in-your-mouth chew. Whether you’re hosting friends or just want something special for yourself, homemade Watermelon Mochi is a showstopper that brings sunshiny vibes to any occasion!
Ingredients You’ll Need

Ingredients You’ll Need
Making Watermelon Mochi at home is so approachable, and you’ll only need a handful of key ingredients. Each element plays a starring role, from giving the mochi its signature chew to infusing every bite with juicy watermelon flavor and that iconic pretty blush.
- Watermelon: Choose a ripe, seedless beauty for maximum sweetness and vibrant color in your mochi.
- Glutinous rice flour: The secret to authentic, stretchy mochi texture—don’t substitute with regular rice flour!
- Cornstarch: Helps create a silky, tender dough that holds its shape perfectly.
- Sugar: Just enough to highlight the fruit’s natural sweetness without overpowering its delicate flavor.
- Watermelon juice: Freshly blended from your watermelon, this gives both moisture and that delightful fruity note.
- Butter: Adds richness and a subtle creaminess to balance the chewiness.
- Cooked glutinous rice flour (for dusting): Prevents sticky fingers and yields a perfect, non-messy finish.
How to Make Watermelon Mochi
Step 1: Prepare the Watermelon
Start by slicing your watermelon in half and using a large spoon to scoop out the juicy flesh. Skip any seeds you find to keep your mochi texture smooth and seamless. Toss the chunks into a blender and blitz until completely liquid—the goal is 300 grams of watermelon juice for the perfect flavor and moisture balance.
Step 2: Make the Mochi Dough
In a spacious bowl, whisk together the glutinous rice flour, cornstarch, and sugar. As you pour in the freshly blended watermelon juice, stir continuously so no clumps form. For an ultra-smooth dough, sift the mixture before moving on—it’s a little extra work, but the pillowy result is so worth it!
Step 3: Microwave to Set
Cover your bowl with plastic wrap, poking a few small holes in the top to prevent any explosions in your microwave. Zap it on high for 5 minutes—the magic happens here as the dough transforms from liquid to delightfully stretchy! When time’s up, carefully remove the wrap, taking care with the steam.
Step 4: Add Butter and Knead
While the mixture is still hot, drop in the butter and stir until it’s fully melted and beautifully combined. Now let the dough cool to room temperature, then give it a gentle five-minute knead—this ensures that iconic mochi elasticity and an even, glossy texture.
Step 5: Chill the Dough
Line a container with parchment paper, lay out your mochi dough, and flatten it neatly. Pop it in the refrigerator for at least 3 hours to set. This step makes it so much easier to cut and handle, plus the flavor intensifies as it chills!
Step 6: Shape Your Watermelon Mochi
Dust your work surface with cooked glutinous rice flour to nix stickiness. Gently transfer the chilled mochi, slice it into strips, and then cut those into adorable bite-sized pieces. The finished Watermelon Mochi will be chewy, colorful, and undeniably inviting!
How to Serve Watermelon Mochi
Garnishes
Watermelon Mochi loves a fun finish! Try a sprinkle of toasted coconut flakes or a light dusting of extra cooked glutinous rice flour for a classic look. For a playful twist, a few tiny watermelon seeds or black sesame seeds give the pieces that perfect watermelon vibe.
Side Dishes
Pair your chewy watermelon mochi with fresh fruit or lightly sweet iced green tea to cleanse the palate. Mochi is lovely alongside other Japanese sweets like dorayaki or a bowl of matcha for a layered, memorable dessert spread.
Creative Ways to Present
Show off Watermelon Mochi on individual bamboo leaf squares for a beautiful, picnic-ready platter—or tuck them into mini cupcake liners for effortless party-ready bites. You can even skewer pieces with fresh fruit for “mochi kabobs” that look as fun as they taste!
Make Ahead and Storage
Storing Leftovers
If you find yourself with leftover Watermelon Mochi, wrap each piece in plastic or place them in an airtight container in the fridge. They’ll stay fresh and delightfully chewy for up to three days—just be sure to keep them from drying out!
Freezing
Watermelon Mochi freezes surprisingly well. Arrange pieces on a baking sheet to freeze individually before transferring to a container or bag. This way, you can enjoy a sweet treat straight from the freezer for up to one month—let it thaw at room temperature for a chewy bite, or savor it frosty.
Reheating
For best texture, let chilled or frozen Watermelon Mochi come to room temperature naturally. If you’d like them extra soft, a quick 10-second zap in the microwave brings the chew right back—just don’t overdo it, or the mochi will get sticky!
FAQs
Can I use store-bought watermelon juice instead of fresh?
Fresh, home-blended watermelon juice brings out the very best flavor and bright color, but in a pinch, unsweetened store-bought juice will work. Keep an eye on the texture, as some packaged juices may have extra sugar or stabilizers.
What’s the difference between glutinous rice flour and regular rice flour?
Glutinous rice flour (sometimes called sweet rice flour) is essential for that authentic mochi chew—regular rice flour simply won’t get you there! Make sure your bag says “glutinous” for the perfect Watermelon Mochi texture.
How do I prevent my mochi from sticking to everything?
Dust generously with cooked glutinous rice flour—never use raw flour, as it can taste chalky. Work on parchment paper and use a sharp knife for clean cuts and zero sticky mishaps.
Can I make Watermelon Mochi vegan?
Absolutely! Simply swap out the butter for an equal amount of coconut oil or a plant-based spread. The texture stays chewy and the flavor is still irresistibly summery.
Is Watermelon Mochi safe for kids to eat?
Yes, but be mindful that mochi has a very chewy texture, so offer smaller, manageable pieces and supervise younger children. It’s a fun, fruity snack for all ages when enjoyed safely!
Final Thoughts
There’s nothing quite as joyful as biting into homemade Watermelon Mochi on a warm day. It’s sweet, fresh, and playfully chewy—the sort of treat that turns any moment into a celebration. Give it a try, share it with friends, and watch their faces light up with each bite. Happy mochi making!
Print
Watermelon Mochi Recipe
This Watermelon Mochi recipe brings together the juicy sweetness of fresh watermelon and the chewy texture of glutinous rice to create a fun, summery dessert. With natural fruit flavor in every bite and a gorgeous pink hue, these bite-sized treats are perfect for snacking or sharing at gatherings. This easy homemade mochi doesn’t require any special mold or equipment beyond your microwave and blender, making it simple and approachable even for beginners.
- Total Time: 3 hours 20 minutes
- Yield: 16 pieces
Ingredients
For the Mochi Dough
- 1 ripe watermelon
- 230 g glutinous rice flour
- 65 g cornstarch
- 40 g sugar
- 300 g watermelon juice (blended from watermelon)
- 30 g butter
For Dusting
- Cooked glutinous rice flour (as needed)
Instructions
- Prepare Watermelon: Slice the watermelon in half and scoop out the flesh, carefully removing any seeds. Place the flesh into a blender and blend until smooth to yield 300 g of watermelon juice for the mochi recipe.
- Mix Dry Ingredients: In a large mixing bowl, combine the glutinous rice flour, cornstarch, and sugar, stirring well to distribute all ingredients evenly.
- Combine with Watermelon Juice: Gradually add the blended watermelon juice to the dry mixture. Stir continuously until a smooth, lump-free batter forms. For a finer texture, sift the mixture before moving to the next step.
- Microwave the Dough: Cover the bowl with plastic wrap and poke small holes to vent steam. Microwave the batter on high for 5 minutes, or until the mixture starts to set and becomes glossy.
- Add Butter and Knead: While the mochi dough is still hot, add in the butter and mix until it is fully melted and incorporated. Let the dough cool to room temperature, then knead for about 5 minutes by hand until it develops an elastic and smooth consistency.
- Chill the Dough: Transfer the kneaded mochi dough to a parchment-lined container. Flatten the surface evenly, cover, and refrigerate for at least 3 hours so it can set properly and develop its chewy texture.
- Cut and Dust: Once chilled and firm, dust your working surface with cooked glutinous rice flour to prevent sticking. Cut the dough into strips, then slice into bite-sized pieces. Toss each piece lightly in more cooked glutinous rice flour to finish.
Notes
- Make sure to use glutinous rice flour (not regular rice flour) for proper texture.
- If you prefer a less sweet mochi, you can reduce the sugar by up to 10 grams.
- The dough may be hot after microwaving, so use a spatula to incorporate the butter at first.
- Cooked glutinous rice flour for dusting prevents sticking. To make it, dry-fry raw glutinous rice flour in a pan over medium heat for a few minutes until it turns slightly off-white and aromatic.
- This mochi is best served the same day for optimal chewiness, though it can be stored in an airtight container in the fridge for up to 2 days.
- Prep Time: 15 minutes
- Cook Time: 5 minutes
- Category: Desserts
- Method: One Pot & One Pan
- Cuisine: Asian-inspired
- Diet: Vegetarian
Nutrition
- Serving Size: 1 piece
- Calories: 72
- Sugar: 5g
- Sodium: 8mg
- Fat: 1.2g
- Saturated Fat: 0.7g
- Unsaturated Fat: 0.5g
- Trans Fat: 0g
- Carbohydrates: 14.5g
- Fiber: 0.3g
- Protein: 0.7g
- Cholesterol: 3mg

