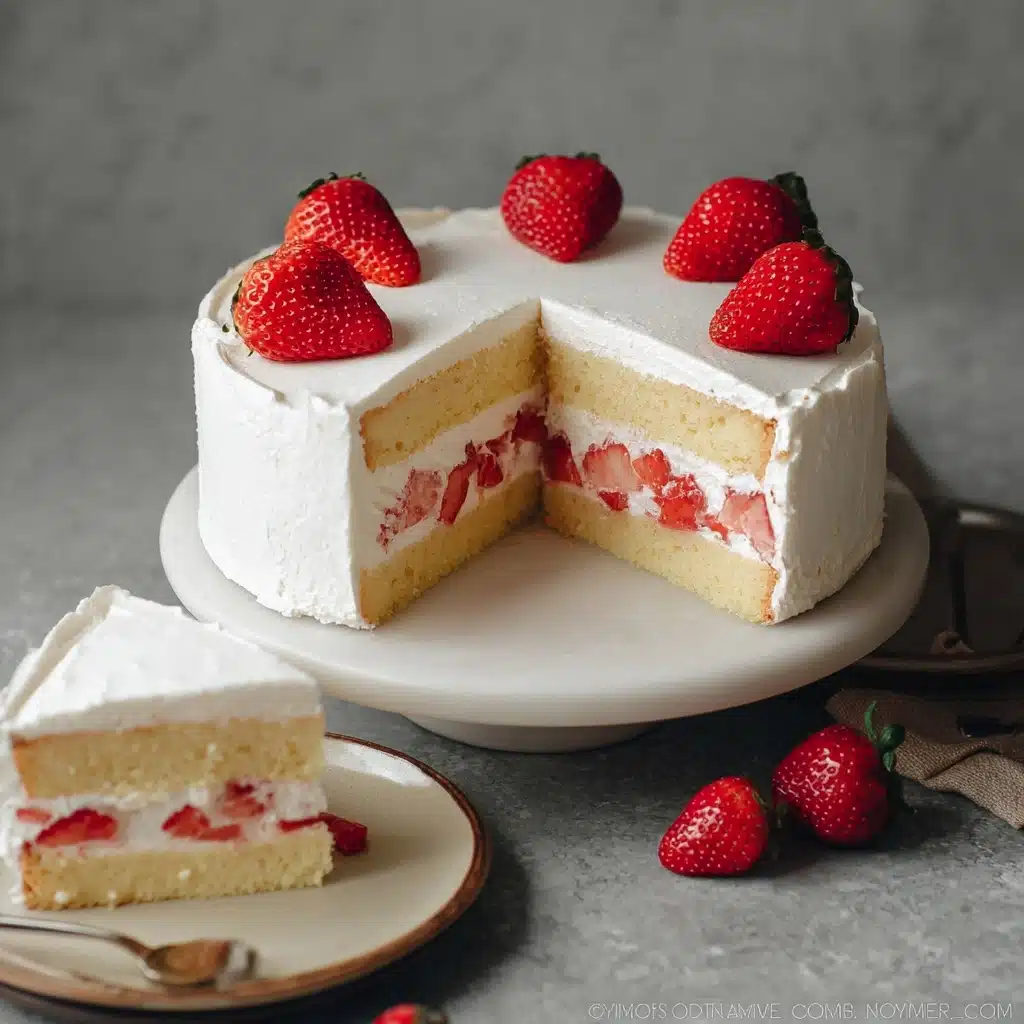
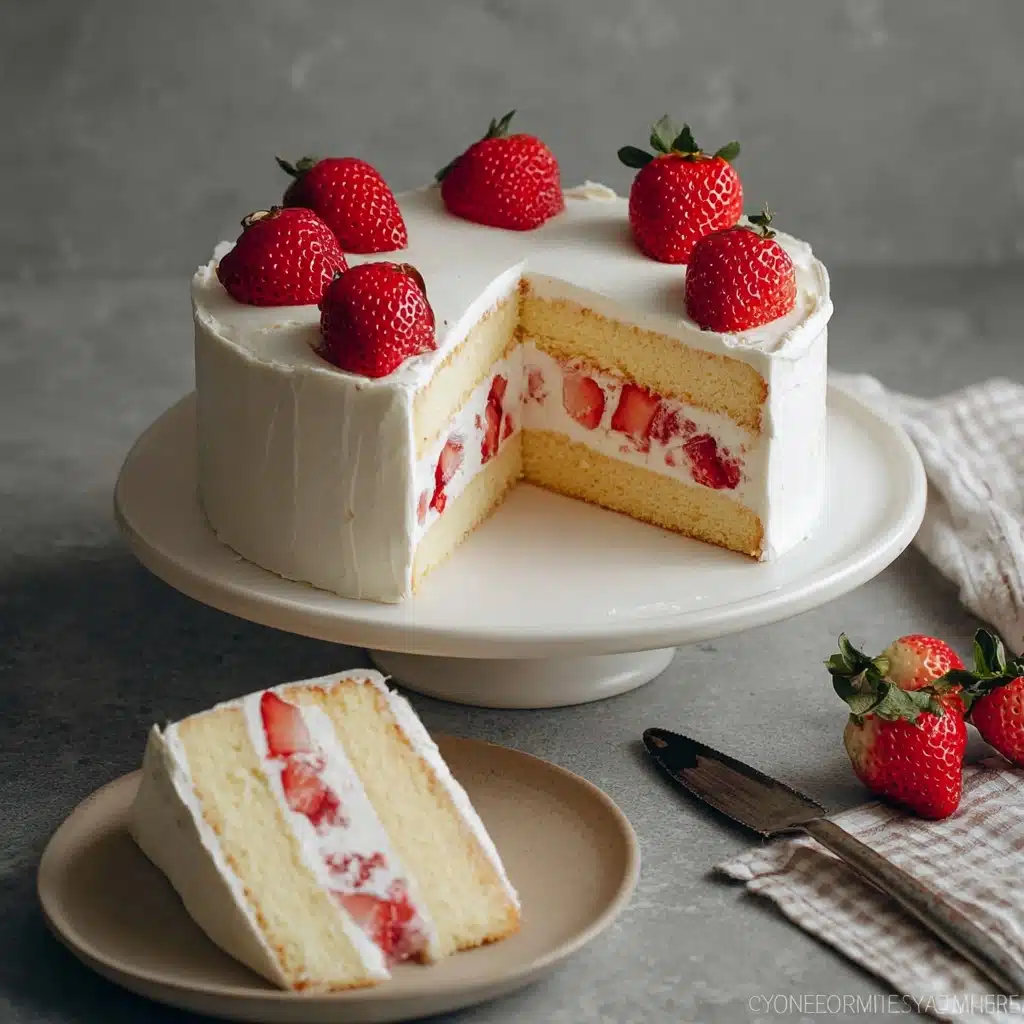
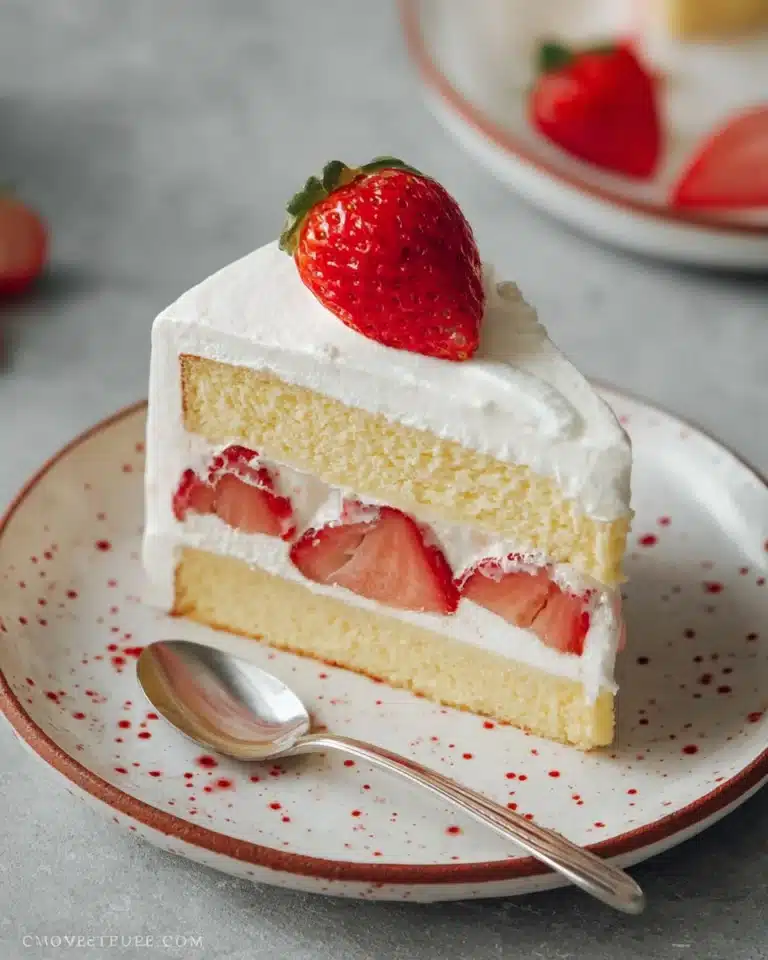
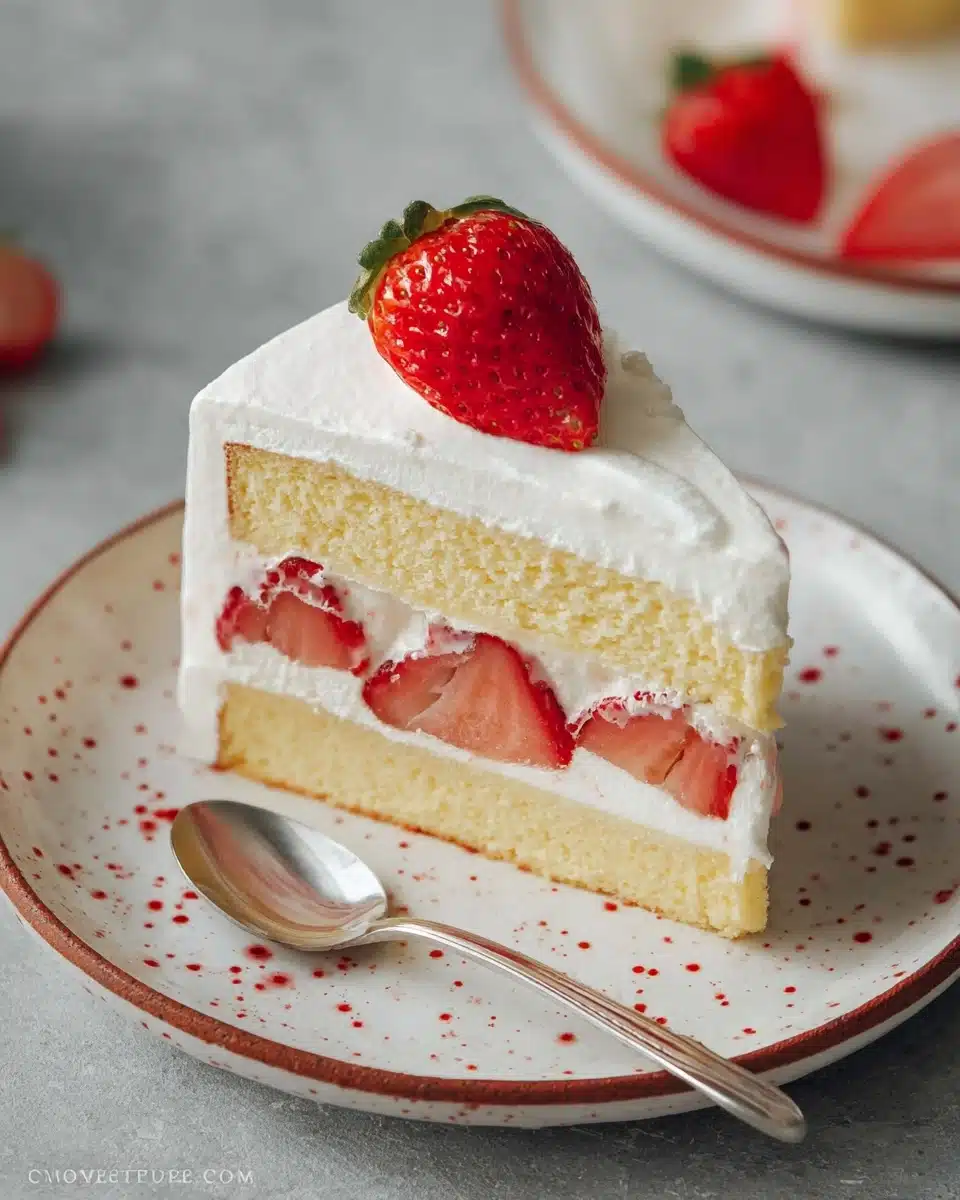
There’s truly nothing like a slice of Japanese Strawberry Cake to brighten your day. Imagine impossibly fluffy layers of sponge lightly perfumed with vanilla, clouds of not-too-sweet whipped cream, and tart-sweet strawberries shining like rubies between each layer. This delicate dessert isn’t just a cake; it’s a celebration of texture and taste—airy, light, fresh, and oh-so-elegant. Whether you’re looking to impress at a gathering or just want to treat yourself, learning to make Japanese Strawberry Cake at home brings a little slice of Japanese patisserie right to your own kitchen.

Ingredients You’ll Need
The ingredient list for Japanese Strawberry Cake is surprisingly simple, but each item is so important for achieving the signature flavor, feather-light crumb, and picture-perfect appearance of this beloved dessert. Gather these basics with care—fresh, high-quality components really make all the difference!
- Whole Milk: Adds rich moisture, ensuring a tender, velvety cake crumb.
- Unsalted Butter: Gently enriches the sponge without overpowering the delicate flavor.
- Cake Flour: This ultra-soft flour is the secret to a light, airy, melt-in-your-mouth texture.
- Large Eggs (Yolks & Whites): Separated to maximize both richness (yolks) and the lift from airy, whipped whites.
- Sugar (Caster Sugar Preferred): Dissolves easily and sweetens every layer without heaviness.
- Fresh Strawberries: The star of the show! Choose berries that are fragrant, deep red, and just ripe for the juiciest slices.
- Confectioners Sugar: Blends smoothly into whipped cream for a subtle sweetness and silky finish.
- Heavy Whipping Cream: Whips up into the signature cloud-like frosting that makes this cake irresistible.
- Gelatin (Optional): Helps stabilize the whipped cream, especially if you want to make the cake ahead or decorate with precision.
- Cake Syrup (Sugar & Hot Water): Keeps each bite irresistibly moist and adds a gentle sweetness.
How to Make Japanese Strawberry Cake
Step 1: Prepare the Sponge Cake Base
Start by cutting a piece of parchment paper to fit the bottom of your 8-inch round cake pan, then line the pan carefully. Preheat the oven to 325°F (160°C). Set up a water bath by preparing a deep pan that your cake pan will nestle inside, and boil some water—this gentle baking method is the key to the signature soft, cloudlike sponge!
Step 2: Melt, Sift and Mix
In a medium heatproof bowl, microwave whole milk and unsalted butter until melted, then stir to combine. Sift the cake flour over the milk-butter mixture and gently fold it in using a spatula until the mixture is smooth—no lumps allowed. Add in the egg yolks and stir again until evenly blended, creating a thick and glossy batter base.
Step 3: Whip the Egg Whites
Time to get some air into the batter! Beat the egg whites in a scrupulously clean bowl (stand or hand mixer works here) at medium-high speed until frothy. Gradually sprinkle in sugar and keep whipping until glossy, medium peaks form—think fluffy but not overly stiff. This step gives your Japanese Strawberry Cake its signature lift and softness.
Step 4: Fold and Combine
Take a quarter of the whipped egg whites and gently fold them into the yolk mixture—this lightens it up so the rest of the whites can be incorporated without deflating. Pour the lighter yolk batter back into the bowl with the remaining whites and fold everything together with a gentle hand. Mix just until the batter is smooth, making sure not to overdo it.
Step 5: Bake in a Water Bath
Pour the airy batter into your lined cake pan and drop the pan lightly onto your counter a couple of times to pop any large bubbles. Nestle the cake pan into the water bath and pour the hot water to cover about 1 inch up the sides. Bake for about 1 hour and 30 minutes, but don’t peek before the hour mark! The cake is ready when it’s slightly pulled away from the pan and a skewer comes out clean. Run a knife around the edge, invert onto a cooling rack, and let it cool completely before moving on.
Step 6: Macerate the Strawberries
While the cake cools, slice about 8 ounces of strawberries into neat 1/4-inch slices, toss them with sugar, and let them sit for at least an hour until they’re glossy and syrupy. This brings out the berries’ natural sweetness and juiciness, which infuses your cake layers. Reserve that beautiful juice for your cake syrup!
Step 7: Prepare the Cake Syrup
Mix sugar and hot water until the sugar dissolves, then stir in the reserved strawberry soaking liquid for extra berry flavor and a hint of pink. This syrup will keep your sponge moist but never soggy.
Step 8: Whip the Cream for Frosting
If you’re making stabilized cream, first let gelatin bloom in cold water, then gently heat to melt. Begin whipping cold heavy cream in a chilled bowl, sifting in confectioners sugar. Once soft peaks form, blend a little whipped cream into the melted gelatin, then drizzle it back into the main bowl. Whip again to just-soft peaks. For regular cream, whip with sugar until firm peaks form. Be careful not to over-whip—stop when it holds its shape but is still smooth and silky.
Step 9: Slice and Fill
Once cooled, use toothpicks to mark the layers evenly, slice off the top if needed, then carefully cut the cake into two thin layers. Place the first layer (cut side up) on your spinning cake stand. Brush generously with the strawberry syrup. Spread on a thin layer of whipped cream, arrange a generous layer of macerated strawberries, then another thin coat of cream. Crown with the second cake layer (cut side down), brush again with syrup, and repeat the cream and strawberry layers. Finish by frosting the top and sides generously with the remaining whipped cream.
Step 10: Decorate and Set
Top lavishly with remaining strawberries—whole, sliced, or fan-cut for dramatic flair. Optional: use a piping bag for extra swoops or decorative touches along the edges. If you created stabilized cream, chill the cake uncovered for at least 30 minutes so the coating sets beautifully. Otherwise, serve right away or refrigerate for a few hours if you need to delay dessert.
How to Serve Japanese Strawberry Cake

Garnishes
The classic finish for a Japanese Strawberry Cake is a cascade of glossy, plump strawberries on top. You can keep it simple with halved berries for a rustic charm, or get creative—fan-sliced berries, a dusting of confectioners sugar, or a few mint leaves add a pop of color and elegance that echoes high-end patisserie vibes.
Side Dishes
Pair your Japanese Strawberry Cake with a pot of delicate green tea, such as sencha or genmaicha, to balance the sweet and creamy notes, or opt for a tall glass of milk to keep things comforting and simple. For a fancier touch, a flute of sparkling wine or a refreshing yuzu lemonade makes every bite pop.
Creative Ways to Present
Individual mini cakes are always a crowd-pleaser—use a biscuit cutter or ring mold to layer personal-sized treats. For celebrations, decorate each slice with a rosette of cream and a strawberry fan. If you’re feeling bold, try a “naked” cake style that shows off the gorgeous layers, or surprise your guests with a dramatic strawberry cascade down one side.
Make Ahead and Storage
Storing Leftovers
Leftover Japanese Strawberry Cake stays moist and lovely if you cover it loosely and refrigerate it for up to 2 days. Make sure to keep the cake chilled (preferably in a cake box or dome) to prevent the delicate cream and fluffy sponge from drying out. If you have a cake with stabilized cream, it will hold its shape even after a night in the fridge!
Freezing
While Japanese Strawberry Cake is best enjoyed fresh, you can freeze undecorated cake layers wrapped tightly in plastic for up to a month. Let them thaw completely at room temperature before assembling with cream and strawberries—freezing the assembled cake is not recommended due to the delicate cream and fresh fruit.
Reheating
This cake isn’t one for reheating! Instead, if you prefer cake at room temperature, simply let chilled slices sit out for 30 minutes before serving. This will bring back the creamy, melt-in-your-mouth texture of the frosting and enhance the natural flavor of the strawberries.
FAQs
Can I make Japanese Strawberry Cake without gelatin?
Absolutely! Gelatin is optional and only helps stabilize the whipped cream if you want to prepare the cake ahead of time or make intricate decorations. The regular whipped cream holds up wonderfully if you plan to serve the cake within a few hours of making it—just keep it chilled!
What kind of strawberries work best?
Opt for strawberries that are bright red, fragrant, and perfectly ripe. Japanese strawberry varieties are extra sweet and juicy, but any fresh, high-quality strawberries will shine in this cake. If your berries are a bit tart, the sugar maceration will mellow them out beautifully.
Why do I need a water bath for the cake?
Baking the sponge in a water bath gently regulates the temperature, allowing the cake to rise evenly and stay incredibly moist. This method prevents cracking, browning, or shrinking so your Japanese Strawberry Cake always comes out cloud-soft and perfectly tender.
Can I use all-purpose flour instead of cake flour?
You can, but cake flour truly gives you the feather-light texture that sets Japanese Strawberry Cake apart. If you must substitute, replace 2 tablespoons of all-purpose flour per cup with cornstarch and sift well for a lighter crumb. Still, cake flour is best if you want that authentic, bakery-style result.
How do I avoid my whipped cream turning grainy or separated?
Be careful not to over-whip the cream—stop as soon as it forms soft or medium peaks, depending on your preference. If you’re using stabilized cream, blend a bit of whipped cream into the melted gelatin before combining for the smoothest texture. Always start with cold cream and tools for best results!
Final Thoughts
I hope you’re feeling just as eager as I am to bring a bit of Japanese sweetness into your home kitchen! Japanese Strawberry Cake is as dreamy to eat as it is to make—so delightfully light Print

Japanese Strawberry Cake Recipe
Experience the iconic Japanese Strawberry Shortcake—a beloved bakery-style cake known for its ultra-light, fluffy sponge, layers of luscious whipped cream, and juicy strawberries. This showstopper is a feast for the eyes and just sweet enough to let the natural flavors of strawberries shine through, making it a perfect treat for celebrations or a delightful afternoon indulgence.
- Total Time: 3 hours 30 minutes
- Yield: 8 servings
Ingredients
Cake
- 80 g (1/3 cup) whole milk
- 50 g (3 1/2 tablespoons) unsalted butter
- 75 g (1/2 cup + 1/2 tablespoon) cake flour
- 4 large egg yolks
- 4 large egg whites
- 70 g (5 1/2 tablespoons) sugar (caster sugar if available)
Strawberries
- 12 oz to 1 lb (340 g to 450 g) strawberries, divided
- 1 1/2 teaspoons sugar
Whipped Cream Frosting
- 280 g (10 oz) heavy whipping cream
- 2 tablespoons confectioners sugar
- 3/4 teaspoon gelatin (optional, for stabilized cream)
- 2 tablespoons cold water (optional, for gelatin)
Cake Syrup
- 2 tablespoons sugar
- 3 tablespoons hot water
Instructions
- Prepare the Cake Pan: Line the bottom of an 8” round cake pan with parchment paper. Preheat your oven to 325°F (160°C). Prepare a high-walled pan or baking dish to use as a water bath for gentle, even baking. If using a springform or removable-bottom pan, wrap it in foil to prevent leaks.
- Make the Batter: In a medium heatproof bowl, combine the milk and butter and microwave until melted. Stir well. Sift in the cake flour and mix gently. Add egg yolks and mix until smooth and cohesive.
- Beat the Egg Whites: In a clean bowl, beat the egg whites with a mixer at medium-high speed until frothy. Gradually add the sugar and continue beating until glossy, medium peaks form.
- Combine Mixtures: Gently fold 1/4 of the whipped egg whites into the yolk mixture until smooth, then pour this mixture back into the rest of the whites. Fold gently until just incorporated—avoid overmixing.
- Bake: Pour the batter into the lined cake pan. Tap gently to release large bubbles. Place the cake pan into the water bath, add hot water to reach 1 inch up the pan, and bake for 1 hour 30 minutes, or until the cake is set and a skewer comes out clean. Let cool completely on a rack.
- Macerate Strawberries: While the cake cools, slice about 8 oz (225 g) of strawberries and toss with 1 1/2 tsp sugar. Let them sit for 1–2 hours until juicy. Reserve the juice.
- Make Syrup: Dissolve 2 tbsp sugar in 3 tbsp hot water. Optionally, whisk in some reserved strawberry juice for extra flavor.
- Prepare Whipped Cream: For regular cream, whip the heavy cream with sifted confectioners sugar until firm peaks form. For stabilized cream, bloom gelatin in water, melt it, and add to soft-peak whipped cream, then whip to soft peaks.
- Slice and Soak Cake Layers: Once the cake is cool, slice off the browned top and then cut the cake into two even layers using a serrated knife. Brush both exposed surfaces generously with the cake syrup.
- Assemble Layers: Place the bottom layer on a stand. Spread a thin layer of whipped cream, top with sliced macerated strawberries, then add another layer of cream. Place the second cake layer on top and brush with more syrup.
- Frost and Decorate: Cover the cake with a thin layer of whipped cream to lock in crumbs, then apply a thicker layer all over. Use any remaining cream in a piping bag for decoration, and top decoratively with reserved whole or halved strawberries.
- Chill and Serve: If using stabilized cream, refrigerate uncovered for at least 30 minutes. Otherwise, serve immediately or within a few hours. Slice and enjoy the cake at room temperature for the best texture!
Notes
- If you don’t have a spinning cake stand, make one using an upside-down bowl with a flat plate on top.
- For a vegetarian version, skip the gelatin and use regular whipped cream.
- Don’t overmix the batter—gentle folding keeps the sponge light and airy.
- The syrup with strawberry juice enhances flavor but gives the sponge a pink tinge.
- Prep Time: 1 hour
- Cook Time: 1 hour 30 minutes
- Category: Desserts
- Method: Baking
- Cuisine: Japanese
- Diet: Vegetarian
Nutrition
- Serving Size: 1 serving
- Calories: 394 kcal
- Sugar: 17.1 g
- Sodium: 113 mg
- Fat: 27.7 g
- Saturated Fat: 16.2 g
- Carbohydrates: 31.9 g
- Fiber: 1.5 g
- Protein: 6.8 g
- Cholesterol: 192 mg

