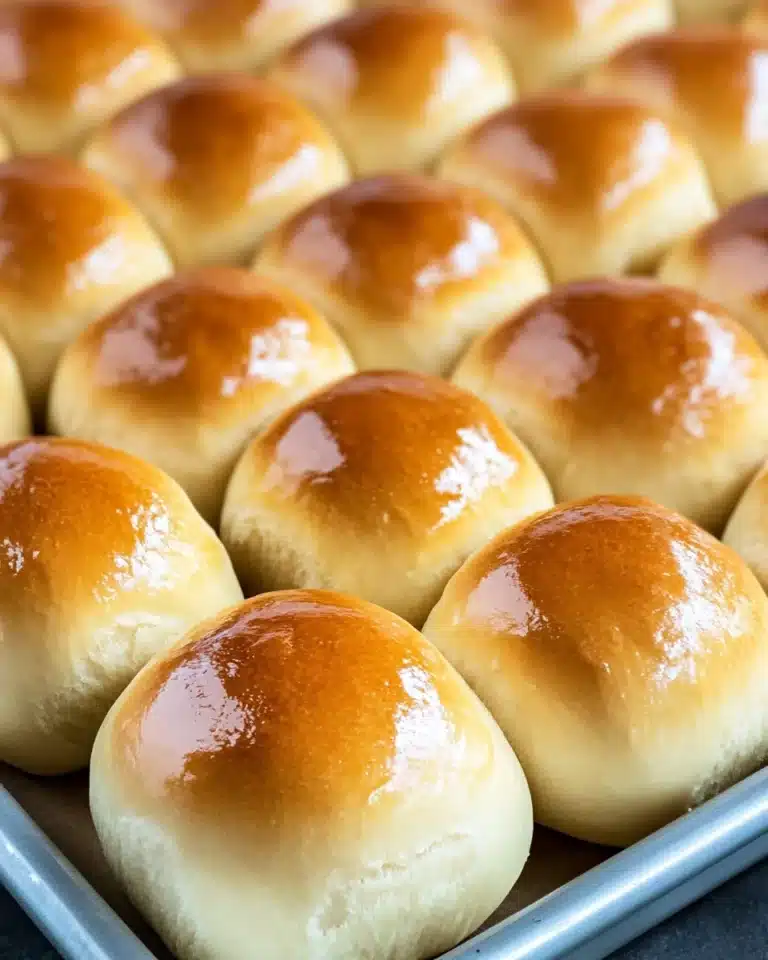
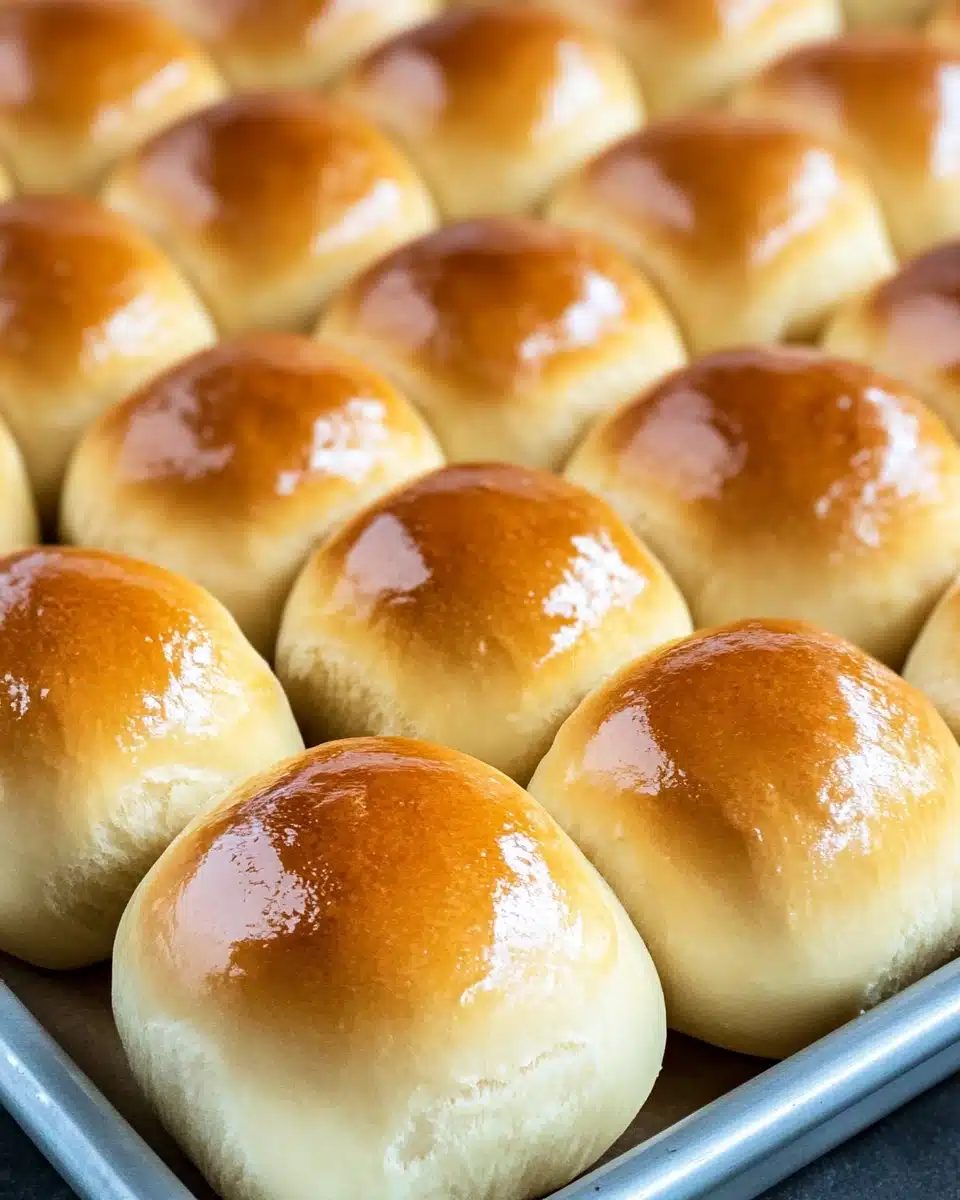
If you’re searching for a classic bread that disappears before it even hits the dinner table, you’ve found it with The Best Homemade Dinner Rolls Ever! These soft, fluffy rolls are the heart and soul of any family meal, transforming simple suppers into special occasions. With a golden crust and pillowy interior, they’re as delightful to tear apart as they are to savor, and every bite will have guests clamoring for your secret recipe. Trust me: this is the one bake you’ll never regret making from scratch!

Ingredients You’ll Need
You don’t need a long shopping list to make The Best Homemade Dinner Rolls Ever! Every ingredient here matters, creating the signature airy texture, rich flavor, and golden color that sets these rolls apart from the rest. Here’s what goes into making magic:
- Milk: Whole or 2% milk adds richness and softness, ensuring the rolls stay moist and tender.
- Instant dry yeast: This is what makes your dough rise perfectly and gives the rolls their fluffy texture.
- Granulated sugar: Just enough to feed the yeast and add a hint of sweetness that complements the buttery flavor.
- Salt: Essential for balancing flavors and giving your rolls a satisfying taste in every bite.
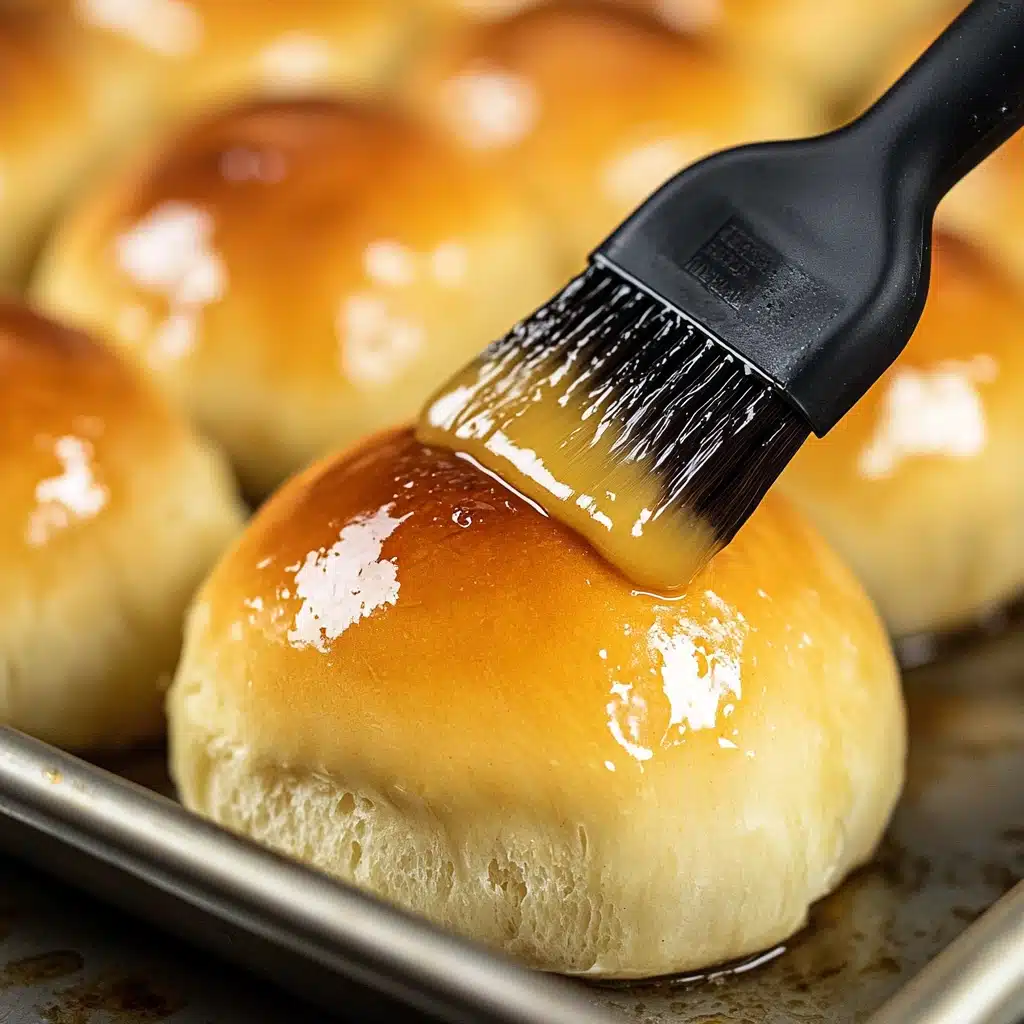
- Salted butter (softened): Brings mellow richness to the dough, with extra for brushing on top for that irresistible shine.
- Eggs: Add structure and softness, helping the rolls puff up beautifully in the oven.
- All-purpose flour: The base of the dough, providing structure and support so your rolls hold their lovely shape.
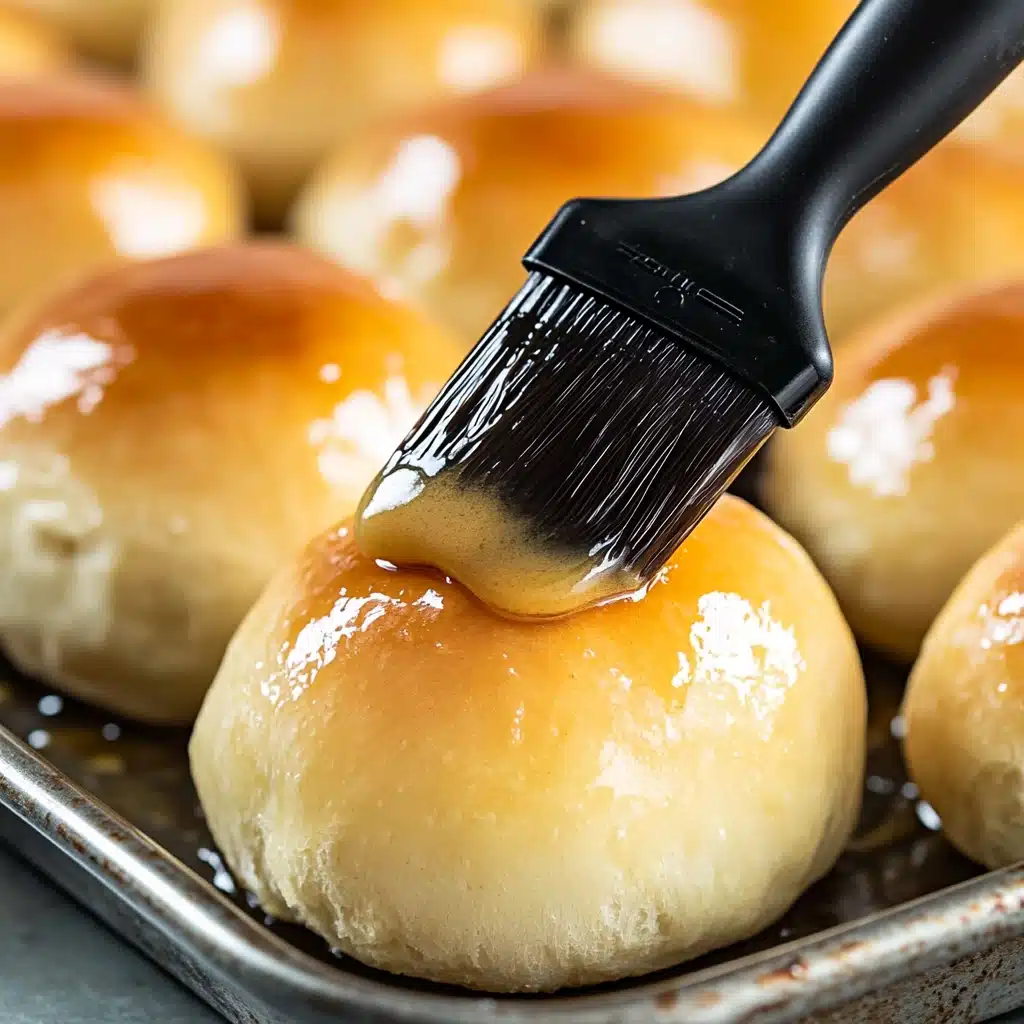
- Melted salted butter (for brushing): Finishes the rolls with a golden, flavorful shine that’s impossible to resist.
How to Make The Best Homemade Dinner Rolls Ever!
Step 1: Warm the Milk
Start by gently warming your milk until it reaches that cozy, just-right temperature—about 100 to 110 degrees Fahrenheit. If you have a thermometer, that’s great, but otherwise, think “warm bath water.” Too hot, and the yeast won’t do its job; too cold, and nothing will happen! You can heat the milk in the microwave in 30-second bursts or warm it slowly on the stovetop. This little step creates the perfect foundation for your dough to rise tall and fluffy.
Step 2: Make the Dough
Now comes the fun part! In the bowl of a stand mixer fitted with a dough hook (or a big mixing bowl if you’re working by hand), add the warm milk, instant dry yeast, sugar, salt, softened butter, eggs, and most of the flour—start with about 5 and a half cups. Mix on low at first, then increase the speed to medium as the ingredients come together. Gradually add the rest of the flour until the dough pulls away from the sides of the bowl. You want the dough slightly sticky and soft, but able to hold its shape. If it sticks to your hands, sprinkle in just a touch more flour.
Step 3: First Rise
Give your dough the cozy treatment by transferring it to a large, lightly greased bowl. Cover the bowl with a towel or plastic wrap and let it sit somewhere warm until doubled in size. This usually takes about 90 minutes. Watching dough rise is baking magic—each bubble means lighter, airier rolls ahead!
Step 4: Shape the Rolls
Lightly grease your large baking sheet (or two 9×13 pans). Gently punch down the dough to release big air pockets, then divide it into 24 equal pieces. To shape, cup your hand over each dough piece and roll it in a circular motion on your counter until smooth and round. You’ll feel like a pro baker in no time! Arrange the dough balls on your prepped pan, leaving a little room for each to rise.
Step 5: Second Rise
Cover the shaped rolls again and let them rise for about an hour, or until doubled in size. This second snooze is what gives The Best Homemade Dinner Rolls Ever! their towering, fluffy look and lovely texture.
Step 6: Bake to Perfection
Preheat your oven to 375 degrees Fahrenheit (190 degrees Celsius). Pop the rolls in and bake for 12 to 14 minutes, until they’re lightly golden and irresistible. Keep an eye on them—they go from pale to perfect in a flash!
Step 7: Butter and Rest
Just before the rolls finish baking, melt your last bit of butter. As soon as they’re out of the oven, brush the tops with that melted butter—that’s the moment where kitchen aromas become pure magic. Let the rolls rest on the tray for about 15 minutes before transferring to a cooling rack. Serve them warm for maximum enjoyment!
How to Serve The Best Homemade Dinner Rolls Ever!

Garnishes
If you want to take an extra step, sprinkle the warm, buttery tops with a pinch of flaky sea salt or a few fresh chopped herbs like rosemary or parsley. That little finishing touch makes these rolls look bakery-fresh and adds a pop of flavor your guests will savor.
Side Dishes
The Best Homemade Dinner Rolls Ever! are famously versatile. They’re the ultimate companion for roast chicken, beef stew, creamy soups, or holiday feasts. Don’t forget to use them to mop up every last bit of sauce or gravy—no dinner plate should go unpolished!
Creative Ways to Present
For special occasions, arrange the rolls in a basket lined with a pretty napkin, or form them into a wreath shape on a platter. If you want a playful twist, serve mini versions as sliders or stuff them with savory fillings for party appetizers. However you present them, they’ll always steal the spotlight.
Make Ahead and Storage
Storing Leftovers
If you actually manage to have leftovers, just let the rolls cool completely and pop them into a large zip-top bag. They’ll stay soft and delicious for 3 to 4 days at room temperature—just make sure they’re tightly sealed, so they don’t dry out.
Freezing
For long-term storage, place cooled rolls in a freezer-safe bag with the air pushed out. Freeze for up to 3 months. You can even freeze the shaped, unbaked rolls after the first rise—just thaw, let them rise again, and bake fresh for special occasions.
Reheating
To refresh rolls, warm them in a 300-degree Fahrenheit oven for 8 to 10 minutes or microwave briefly, covered with a damp paper towel. A quick brush of melted butter after reheating revives that just-baked magic.
FAQs
Can I make these rolls without a stand mixer?
Absolutely! Mix everything with a sturdy spoon until you can’t stir anymore, then knead the dough by hand on a floured countertop. It may take an extra minute or two, but you’ll have golden results—no fancy equipment needed for The Best Homemade Dinner Rolls Ever!
Can I use active dry yeast instead of instant?
Yes, just add 10 to 15 minutes to the first rise. Active dry yeast loves a little more time to get going, but your rolls will be every bit as fluffy and delicious.
How do I know if I’ve added enough flour?
The dough for The Best Homemade Dinner Rolls Ever! should be soft and slightly sticky, but able to hold its shape. You should be able to handle it without it gluing to your fingers. Add flour a little at a time until it feels right—bread baking is all about touch!
Can I halve the recipe for a smaller batch?
Absolutely! This recipe scales down beautifully. Just halve all the ingredients, and you’ll have 12 perfect rolls—great for weeknight dinners or smaller gatherings.
What’s the best way to keep these rolls soft for days?
Let them cool completely, then store in a tightly sealed bag or container. If you’re making them ahead, try tucking a slice of bread into the bag with your rolls to help maintain moisture. Don’t refrigerate, as this can dry them out!
Final Thoughts
Once you bring a pan of The Best Homemade Dinner Rolls Ever! to the table, don’t be surprised if you’re showered with requests for the recipe! There’s just something magical about fresh, homemade bread that brings people together and creates lifelong memories. So go ahead—spread the warmth, savor the aroma, and treat your loved ones to the delight of these legendary dinner rolls.
Print
The Best Homemade Dinner Rolls Ever! Recipe
These soft and fluffy homemade dinner rolls are the ultimate crowd-pleaser, featuring a rich buttery flavor and light, pillowy texture. Perfect alongside any main course, these rolls are surprisingly easy to make from scratch and are sure to melt in your mouth with every bite.
- Total Time: 3 hours 12 minutes
- Yield: 24 rolls
Ingredients
For the Dough
- 2 cups milk (whole or 2%)
- 2 tablespoons instant dry yeast
- 1/4 cup granulated sugar
- 2 teaspoons salt
- 6 tablespoons salted butter, softened
- 2 large eggs
- 6 cups all-purpose flour, divided
For Finishing
- 1 tablespoon salted butter, melted (for brushing on rolls)
Instructions
- Warm the Milk. Gently heat 2 cups of milk in the microwave in 30-second increments (or on the stove) until it reaches 100°F to 110°F. This ensures the yeast activates properly.
- Mix the Dough. In the bowl of a stand mixer fitted with a dough hook, combine the warm milk, instant dry yeast, sugar, salt, softened butter, eggs, and 5 1/2 cups of the flour. Start mixing on low speed. Once the flour starts to mix in, increase to medium speed. Gradually add the remaining 1/2 cup of flour as needed until the dough pulls away from the sides of the bowl. The dough should be slightly sticky but soft. Adjust the flour as needed for the right consistency.
- First Rise. Transfer the dough to a large, lightly greased bowl. Cover with a towel or plastic wrap and let rise until doubled in size, about 90 minutes.
- Shape the Rolls. Lightly grease a large 13×18-inch baking sheet or two 9×13-inch pans. Punch down the risen dough and divide into 24 equal pieces. Shape each piece into a smooth ball by cupping your hand and rolling it on a clean countertop for 30–45 seconds.
- Second Rise. Arrange the shaped rolls on the prepared baking sheet(s). Cover and let rise again until doubled in size, about 1 hour.
- Bake. Preheat your oven to 375°F (190°C). Bake the rolls for 12 to 14 minutes, or until lightly browned on top.
- Finish and Cool. Just before the rolls are done, melt 1 tablespoon of butter. Remove rolls from the oven and brush with melted butter. Let them rest on the baking sheet for 15 minutes before transferring to a wire rack to cool. Serve warm or let cool completely and store in a plastic bag for 3–4 days.
Notes
- No stand mixer? Start by stirring the dough with a spoon, then knead by hand on a floured surface until smooth and tacky but not sticky.
- If substituting active dry yeast for instant, add 10–15 extra minutes to the first rise.
- This recipe can easily be halved to make 12 rolls. Avoid doubling the batch unless you have a large, commercial-style mixer.
- Prep Time: 3 hours
- Cook Time: 12 minutes
- Category: Bread
- Method: Baking
- Cuisine: American
- Diet: Vegetarian
Nutrition
- Serving Size: 1 roll
- Calories: 169 kcal
- Sugar: 3g
- Sodium: 237mg
- Fat: 4g
- Saturated Fat: 2g
- Unsaturated Fat: 2g
- Trans Fat: 0g
- Carbohydrates: 27g
- Fiber: 1g
- Protein: 4g
- Cholesterol: 24mg

